
What you can do
Sign up a new CRIBWISE customer from the Customer Management Portal — as a free trial or as a fully active account with software and hardware.
Both use the same signup form. What separates a trial from an active account is what you select in the Software information step. You can also convert an existing trial or prospect account to an active account from the same flow.
Before you start
- You have a distributor account administrator role and can log in at app.cribwise.com.
- You know which distributor the account belongs to. If you are assigned to more than one, you have to pick the right one during signup.
- You have the end customer’s details: contact name, e-mail address, phone number, company name, organization number, and address.
- You know the plan and the number of main devices the customer needs.
- If you are ordering hardware: you have the shipping address and, if relevant, the purchase order document.
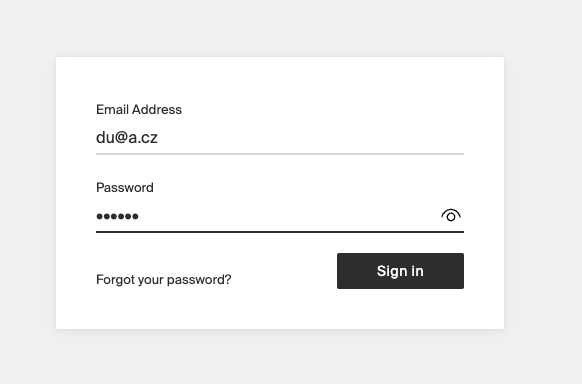
Distributor account administrators sign in at app.cribwise.com to manage existing customers and sign up new ones.
Important: The contact name you enter becomes the end customer’s first account administrator — the person who signs off the CRIBWISE terms and conditions. The portal is not activated until they accept.
Trial or active account?
| Free trial | Active account | |
|---|---|---|
| Signup form | Same form | Same form |
| Where they differ | Stop after Account details and select Continue | Continue into Software information and select a plan |
| Subscription status | In trial, with an end date | Active — or Future if hardware or an installation add-on is included |
| Later | Convert to an active account at any time | Change quantity and add-ons as the customer grows |
A prospect is a potential customer without any active plan. Prospects are created during the quote flow, not through this signup form, but you convert them to active accounts the same way as trials.
Quick start
Experienced users — sign up a customer in 5 steps:
- Select Create Customer on the home screen, or + New Customer in the customer list.
- Fill in the end customer’s account details and a valid short name.
- Select the plan, the number of main devices, and any add-ons.
- Add hardware and shipping details, or skip to the summary.
- Confirm the order on the summary page.
Need more detail? Follow the full steps below.
Steps
Step 1 — Open the signup form
There are two ways to start a signup.
- From the home screen, select Create Customer.
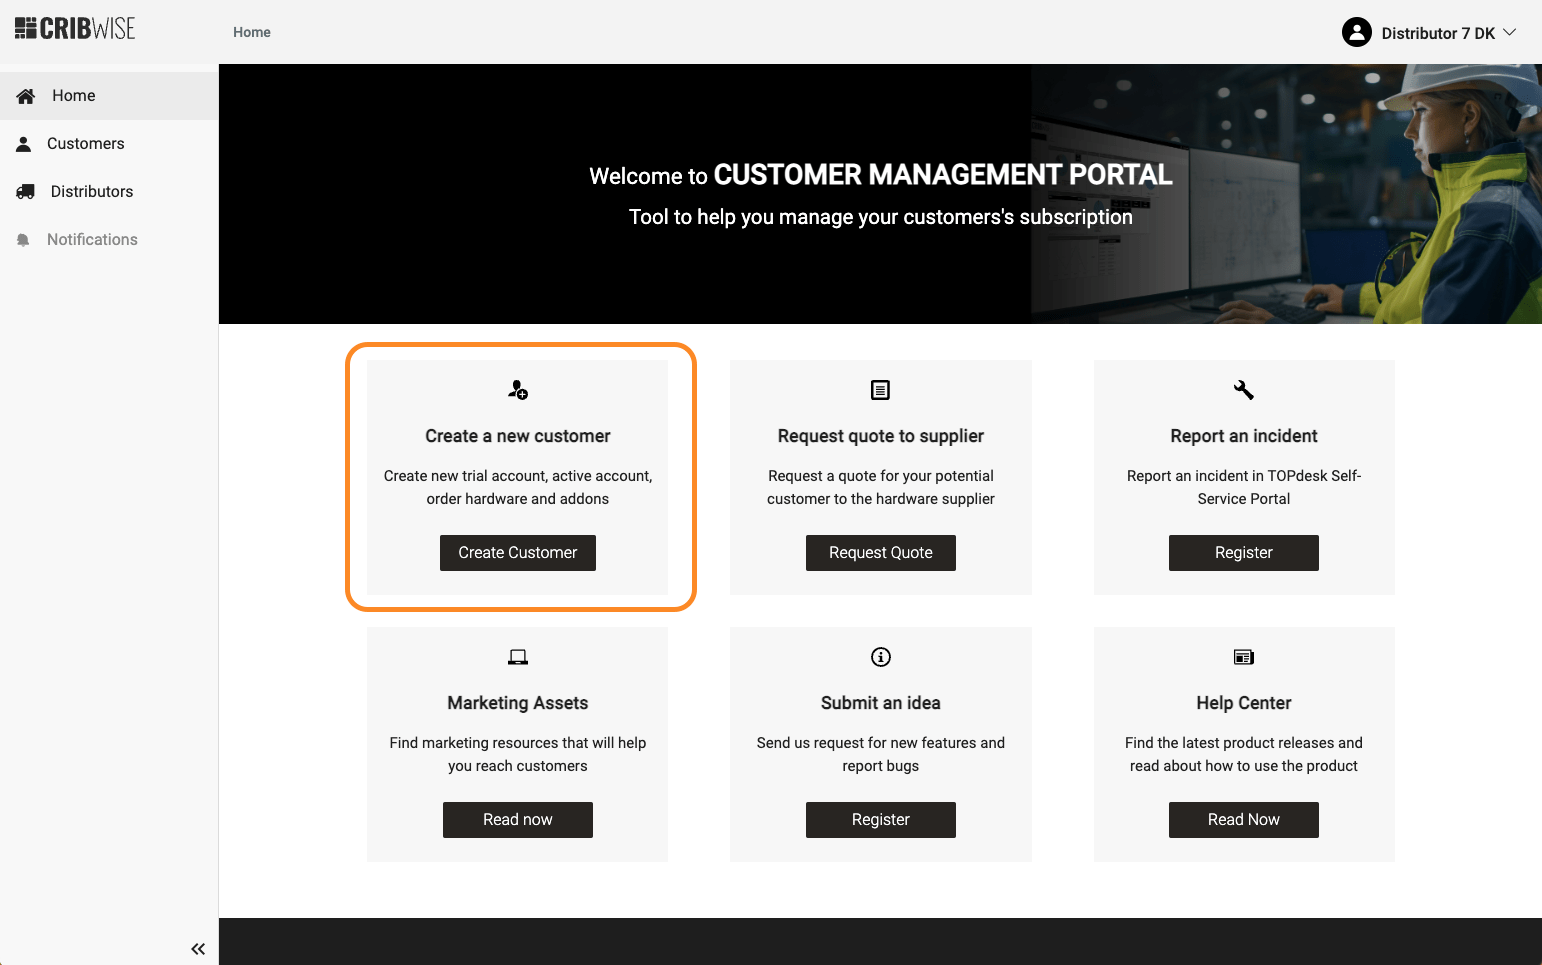
The fastest route: the Create Customer button on the home screen.
- Or select Customers in the left menu, then select + New Customer in the customer list.

The customer list shows every customer you are allowed to manage. Use + New Customer to start a signup from here.
The customer list is also where you open an existing account to see subscriptions, invoice history, add-ons, renewal dates, assets, orders, quotes, and account administrators. See How to change a customer account (distributors).
Step 2 — Fill in the account details
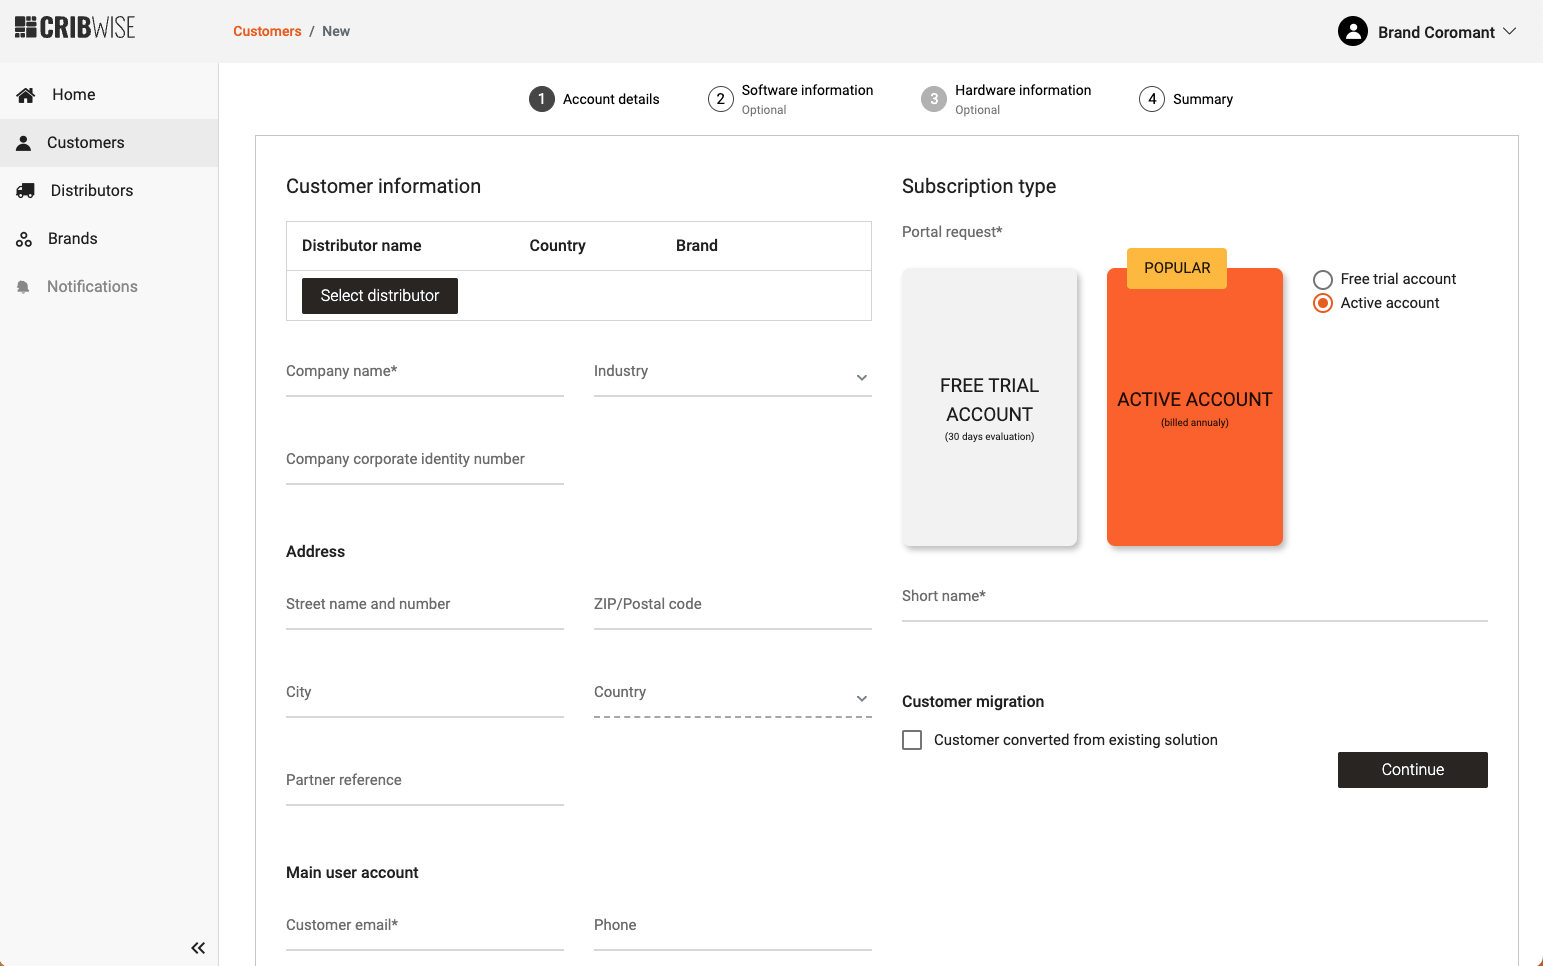
Step 1 of the signup flow: the end customer’s contact and company details.
- If you are assigned to more than one distributor, select Select distributor and pick the correct one from the list.
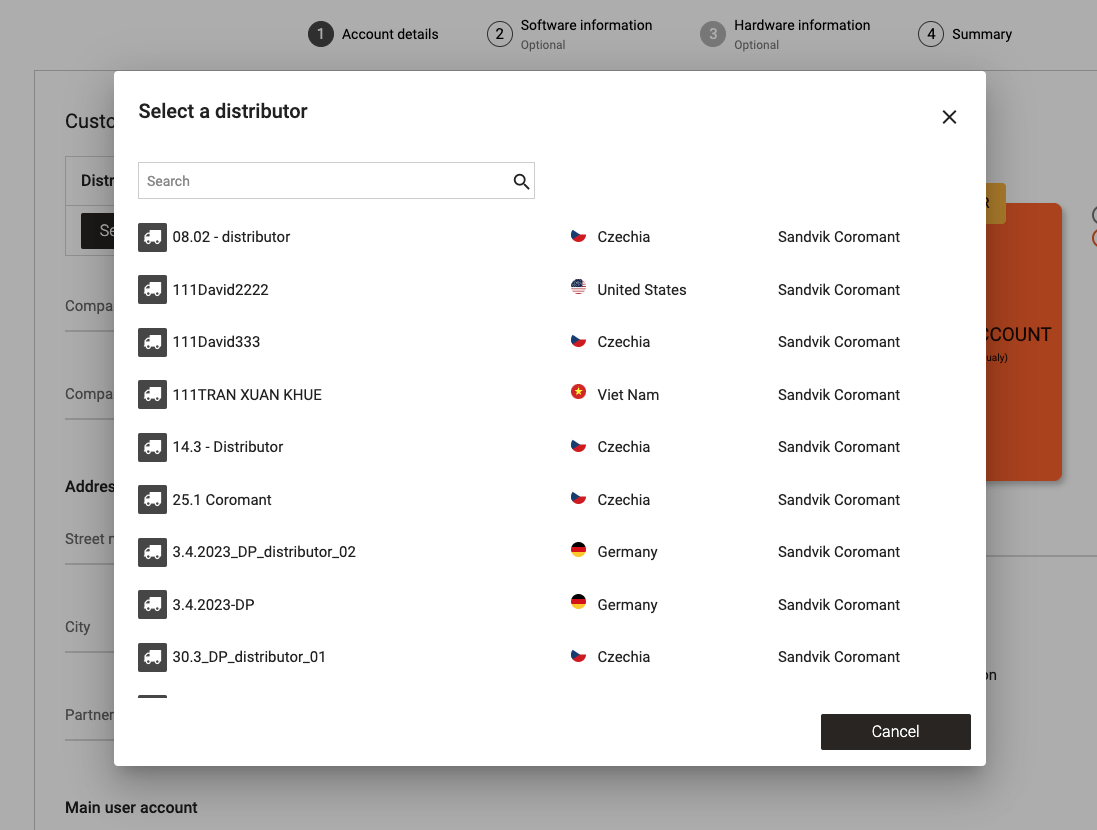
Pick the right distributor. This controls which country and billing setup the account is created under.
Warning: Creating the account on the wrong distributor puts it under the wrong country and billing setup. Check the distributor before you continue.
- Enter the end customer’s contact details and company information.
| Field | What to enter |
|---|---|
| Name | The person who becomes the end customer’s first account administrator and signs off the CRIBWISE terms and conditions. |
| E-mail, Phone number | Contact details for that person. |
| Company name, Organization, Address | The end customer’s details — not the distributor’s. |
| Short name | Becomes part of the customer’s portal address. The field is validated and turns red if the name is already taken — change it until it is accepted. |
- If the customer is coming from another solution and the data should be migrated, tick the migration box and specify which solution they used.
- A follow-up option then appears. Select whether the customer needs migration support from the CRIBWISE team.
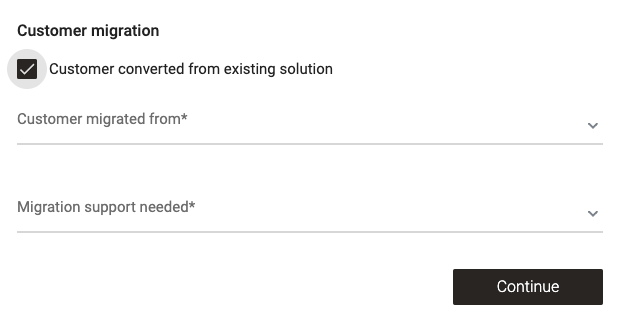
Tick the migration box only when existing data needs to be moved into CRIBWISE.
- Select Continue.
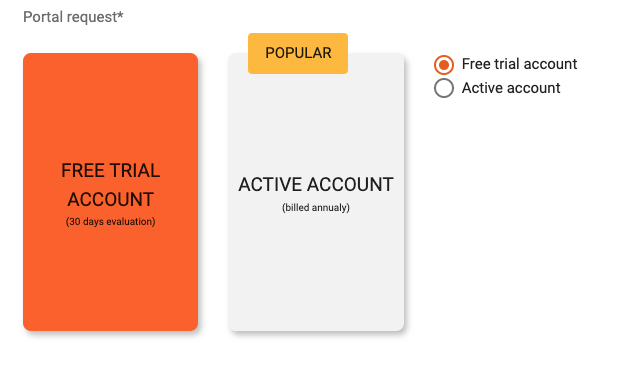
For a free trial, nothing more is required — Continue completes the signup.
For a free trial account, this is the last step. Check with the customer that the terms and conditions e-mail arrived and was accepted, otherwise the portal is not activated. See How to activate a new portal and create your first user.
Step 3 — Select the software information
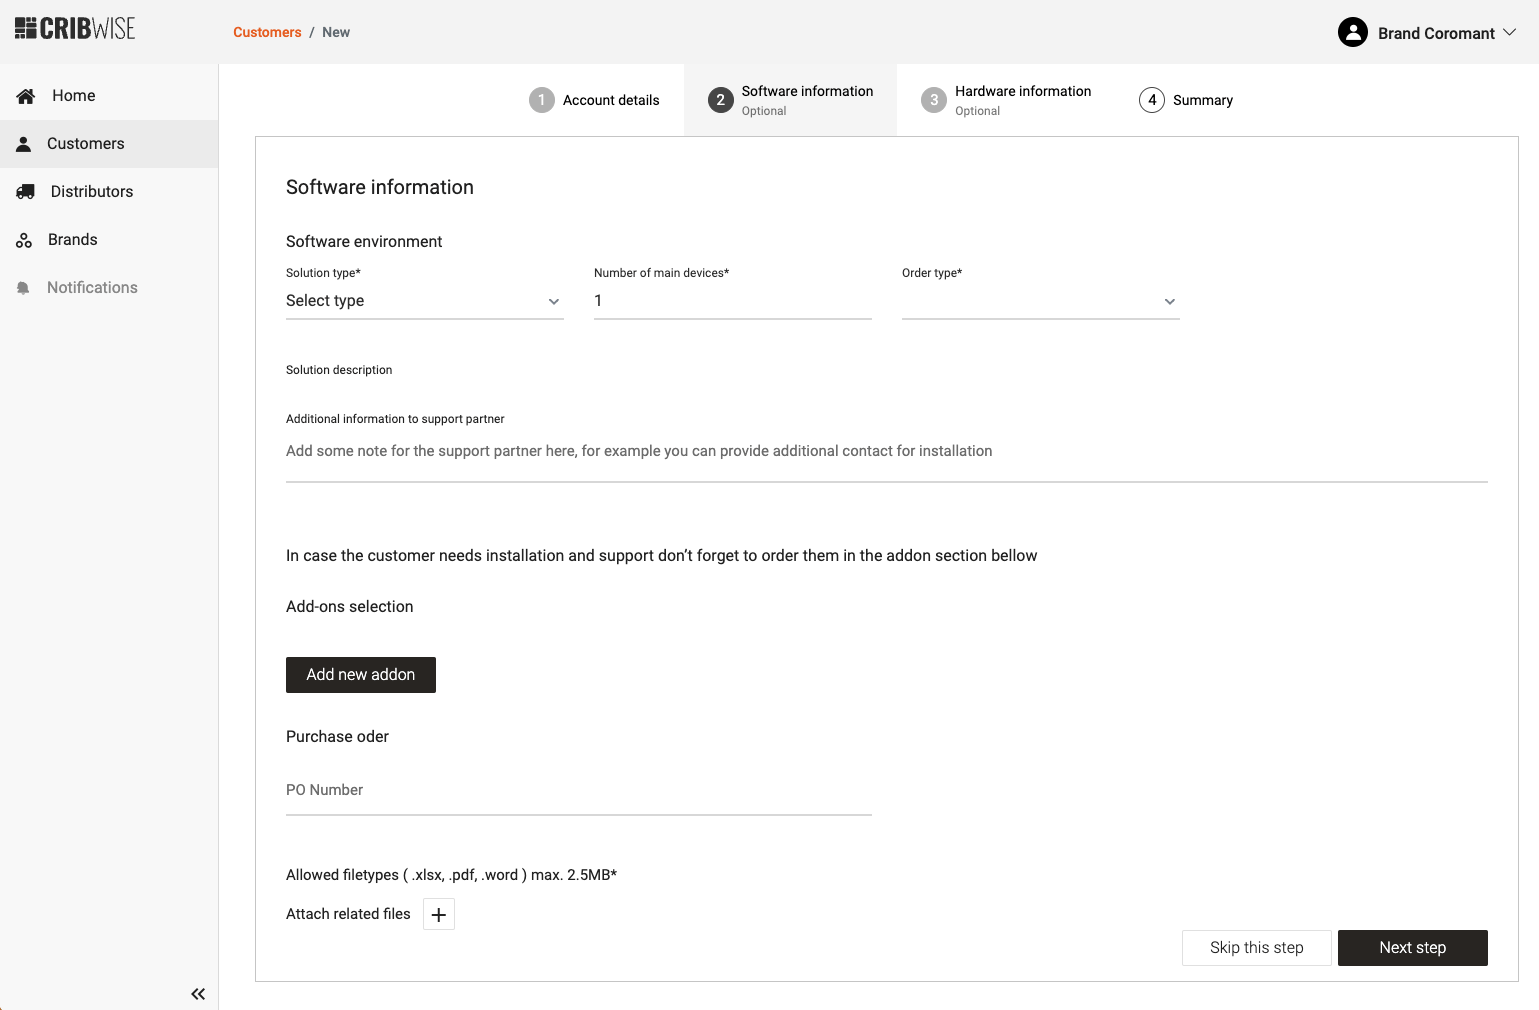
Step 2 of the signup flow: plan, device quantity, order type, and add-ons.
- Select the solution type (plan) from the drop-down.

The options come from your distributor settings, so the list may be shorter than the one below.
| Plan | What it gives the customer |
|---|---|
| Starter | A cloud offer with browser access to the Shop Floor Interface. Licensed per device. Cannot control physical storage devices. |
| Professional | A cloud offer that can also connect to an on-premise Shop Floor Interface. Controls storage machines in the standard offer. Additional device types need add-ons. Licensed per device. |
| On-premise | Installed fully on the customer’s local servers. Controls storage machines in the standard offer. Additional device types need add-ons. Licensed per device. Must reach the CRIBWISE license server at installation and at least once a year. |
The selected plan. Options are set per distributor agreement by the CRIBWISE team in CMP.
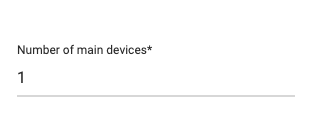
- Enter the number of main devices needed at activation.
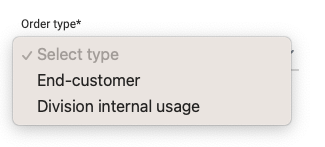
Devices are the license object in CRIBWISE. The customer cannot create more devices in the Admin Portal than were ordered here.
- Select the order type.
- To order add-ons at signup, select Add new addon and pick from the list.
- Attach the purchase order document for the software if you have one.
Note: Both the plan list and the add-on list come from your distributor settings. These follow the distributor agreement and are configured in CMP by the CRIBWISE team.
Step 4 — Add hardware
Skip this step if the customer is not ordering hardware — you go straight to the summary.
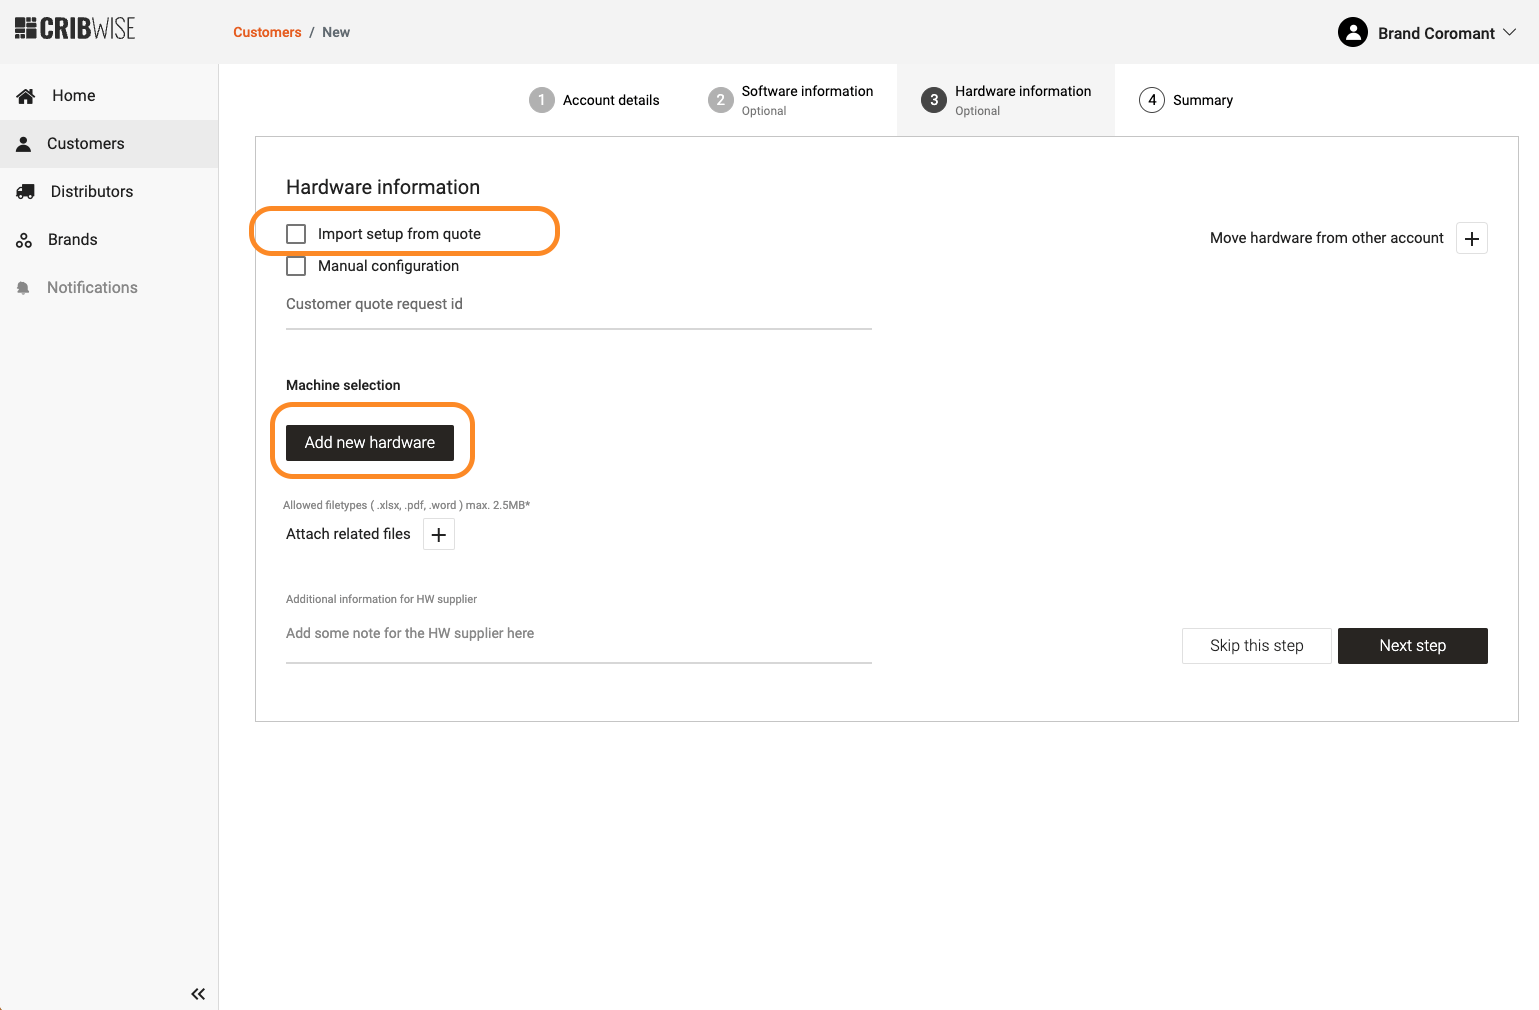
Step 3 of the signup flow: hardware. Add items manually or import them from an existing quote.
There are two ways to add hardware.
- Tick Import setup from existing quote and select a quote. The hardware items are imported and listed for you.
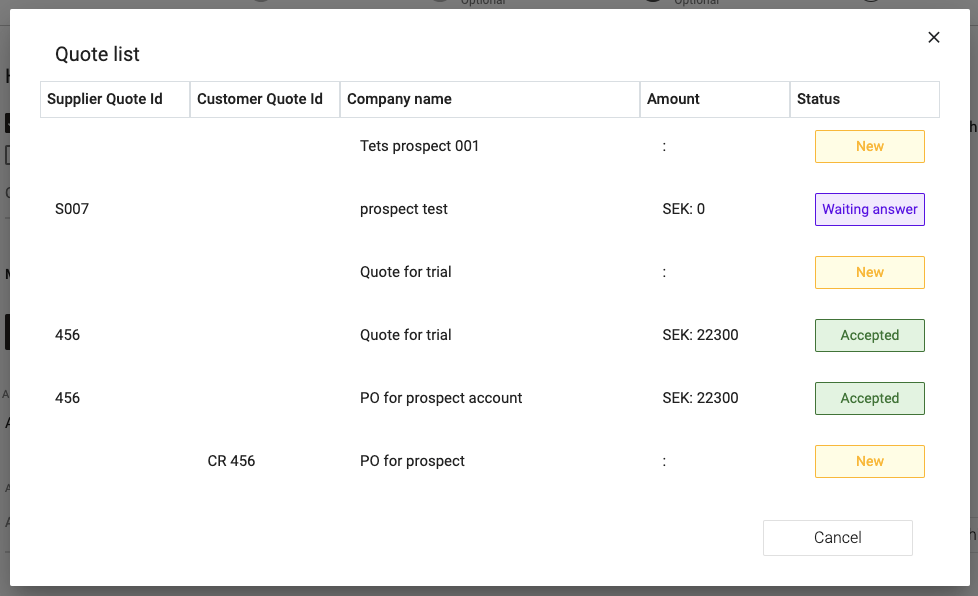
Importing from a quote saves re-entering hardware that has already been priced.
- Or select Add new hardware and choose the hardware details in the dialog.
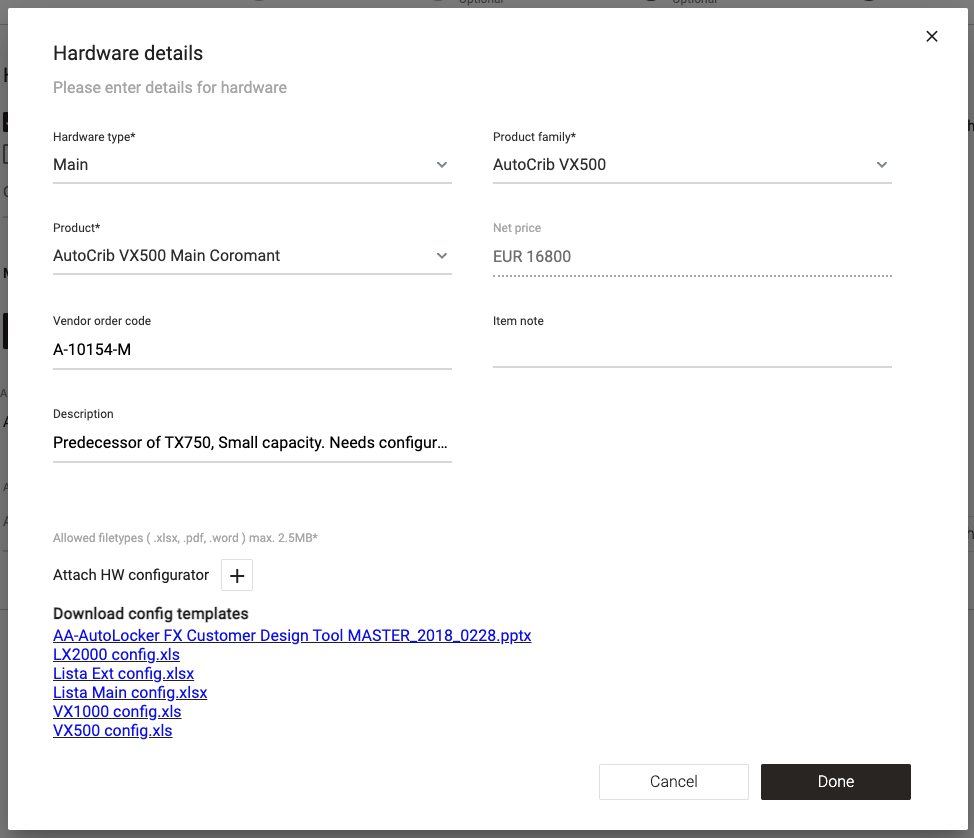
The item list comes from the CRIBWISE cloud instance, filtered by your distributor settings.
For serialized items you can download a setup template per manufacturer and upload a configuration file with the required specifications.
If your distributor orders hardware directly from suppliers, CMP sends the order to the supplier defined in your distributor settings.
Step 5 — Enter the shipping information
This step appears only when the order includes hardware.
- Fill in the shipping details for the delivery.
- Upload the purchase order file and enter its number for future reference.
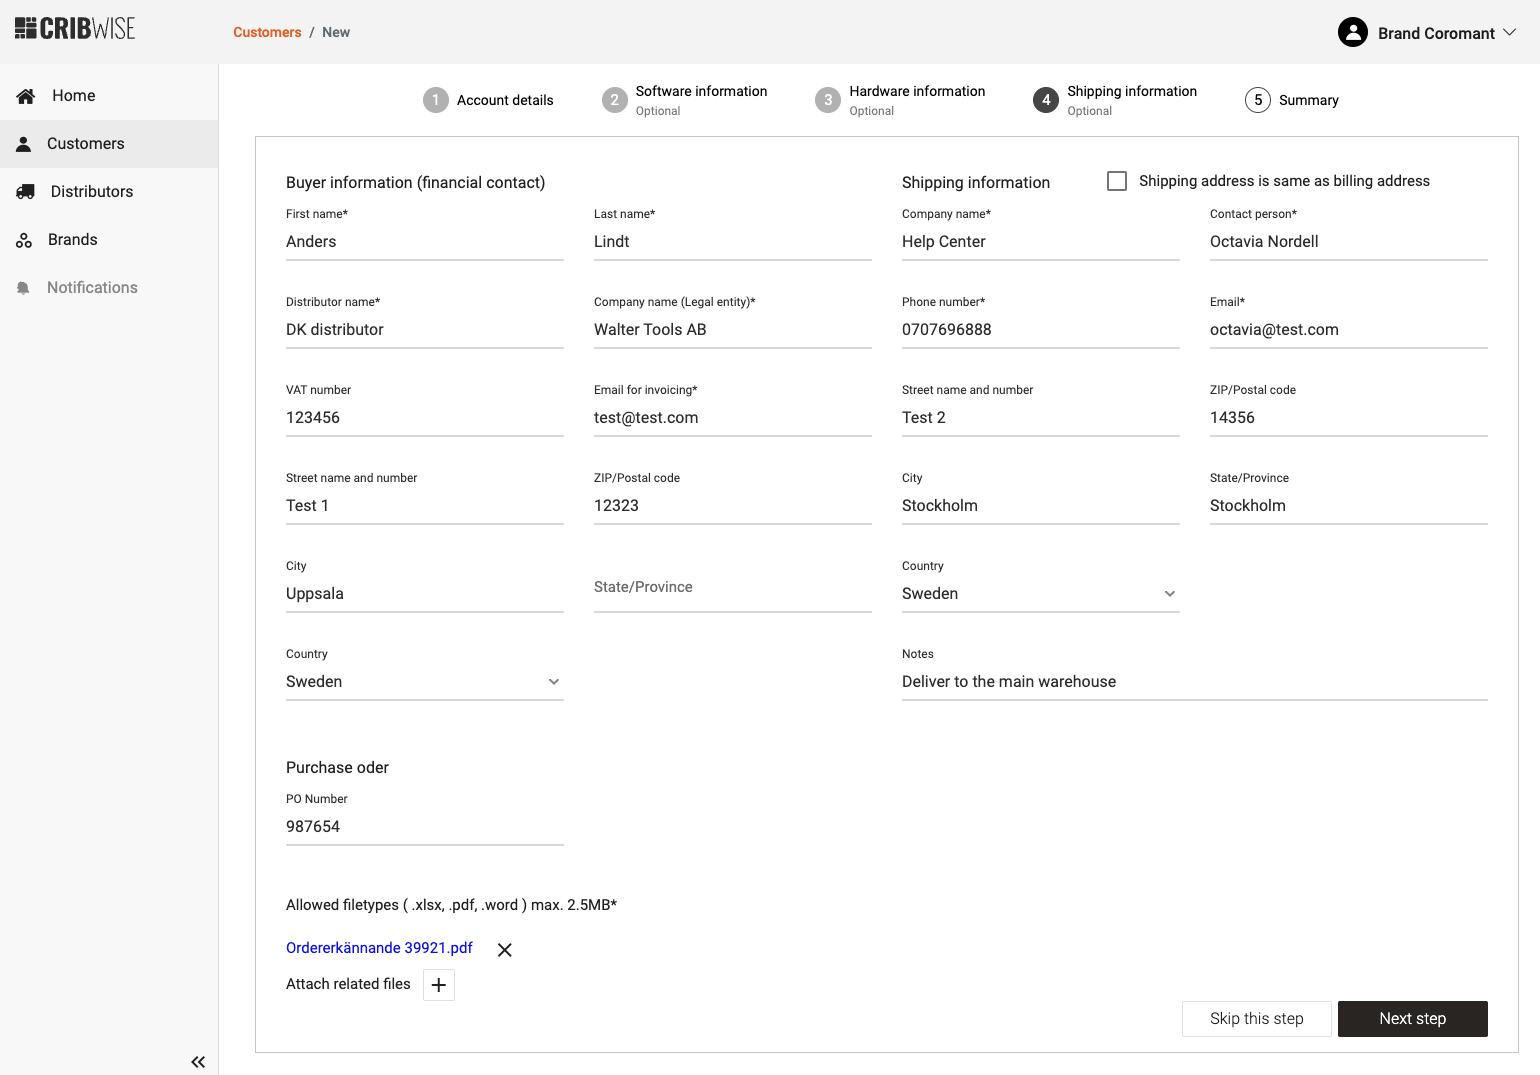
Get this right the first time — the supplier delivers against exactly what you enter here.
Step 6 — Review and confirm the summary
- Check the order details, quantities, and prices.
- Select the confirmation button to place the order.
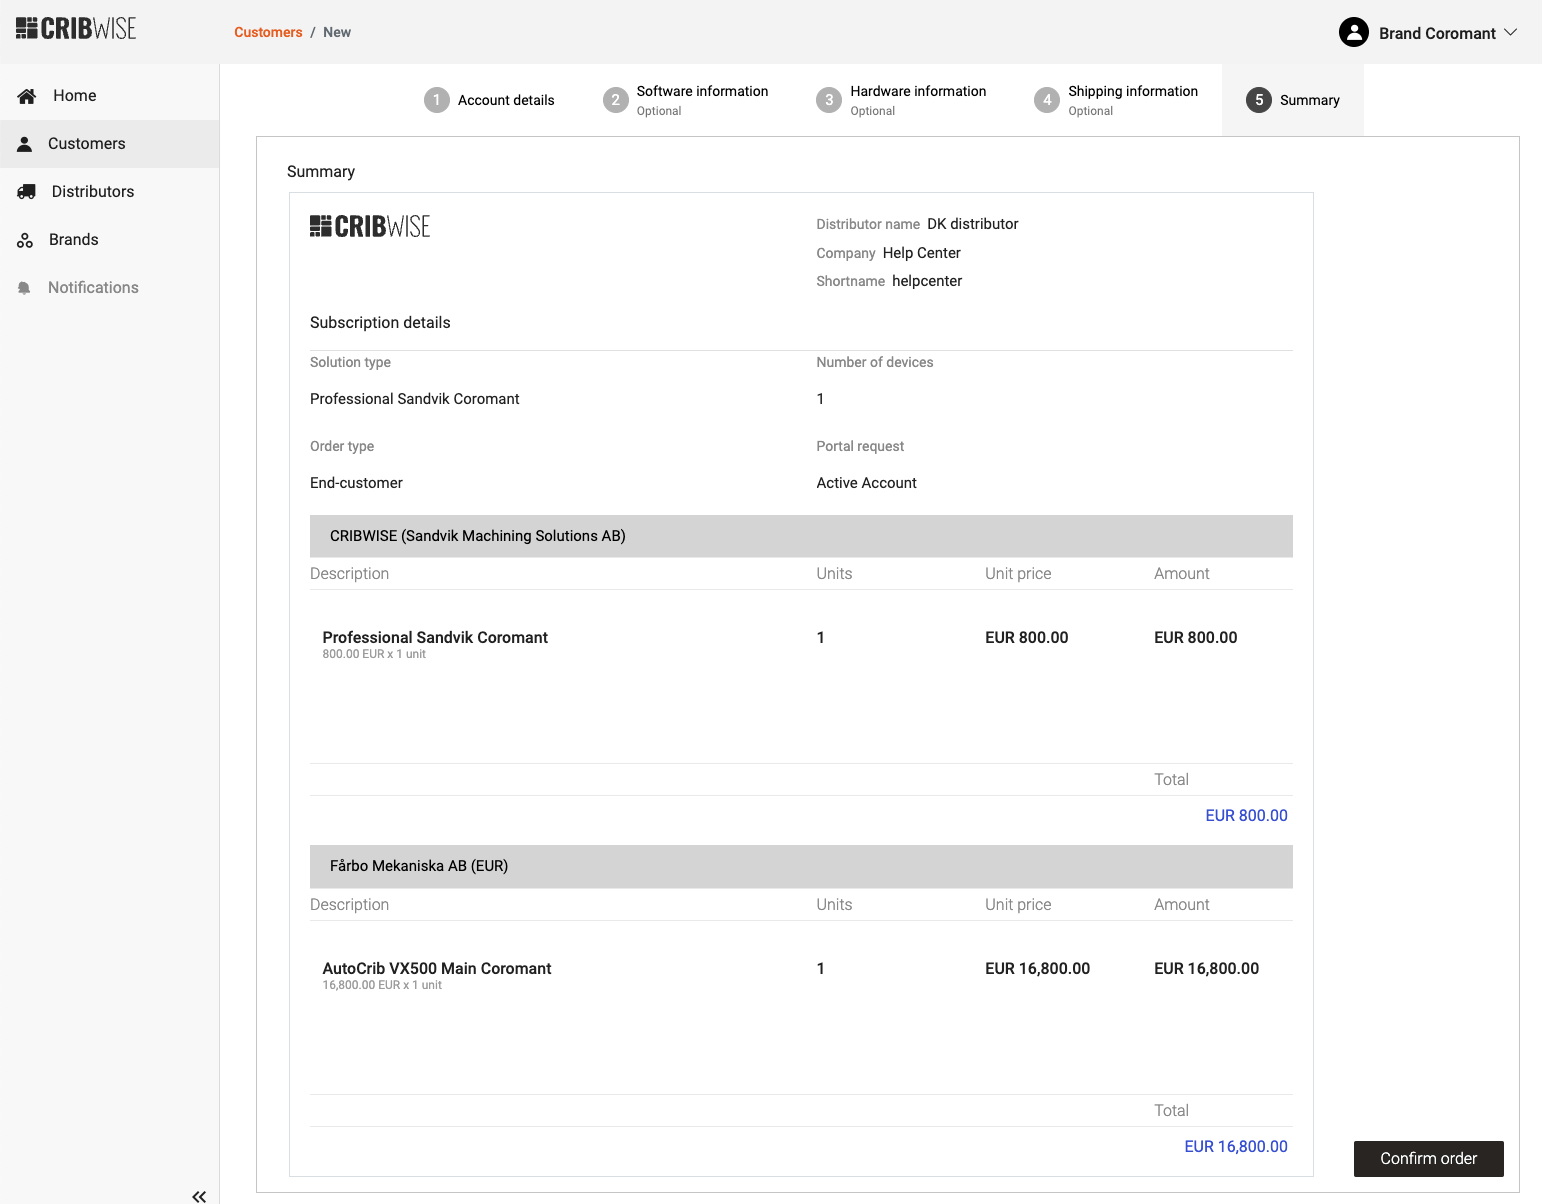
The last chance to check quantities and prices before the customer account is created.
Success: The new customer is created and an order confirmation e-mail is sent with the order details. If the order included hardware, a purchase order is also created and sent to the hardware supplier.
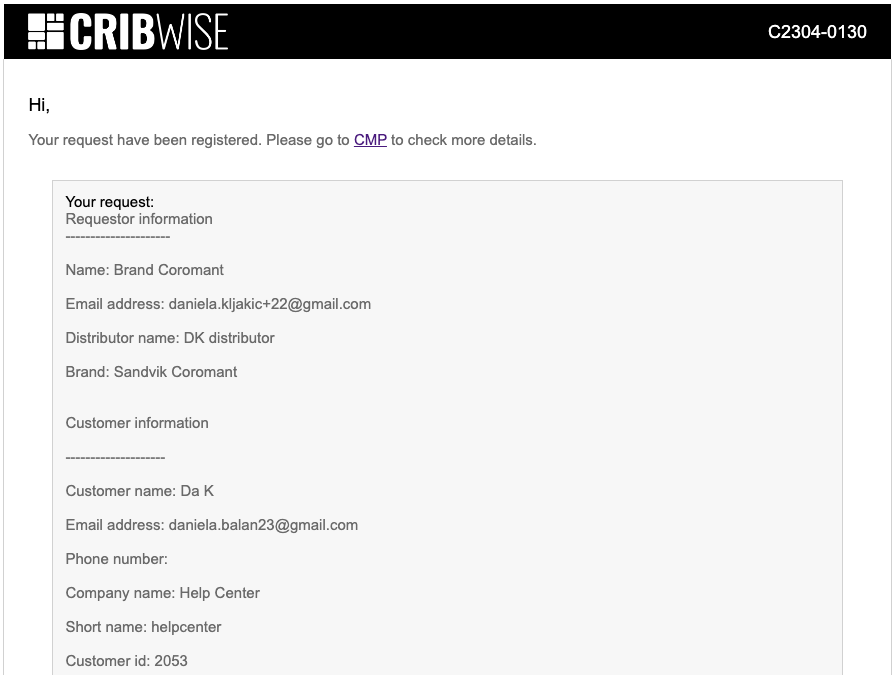
The confirmation e-mail sent once the order is placed.
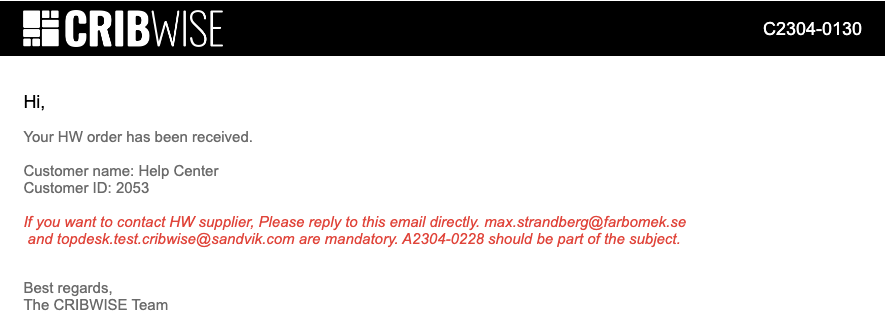
The order details section of the same e-mail.
| If the order includes… | The subscription becomes… |
|---|---|
| Hardware items or installation add-ons | Future — activated on the installation date or the shipping date |
| Neither | Active immediately |
Convert a trial or prospect account to an active account
Trials and prospects use the same conversion route.
- Log in at app.cribwise.com and open Customers.
- Select the customer line, then select Customer overview in the Details section on the right.
- Open the Subscription tab.
- Select Convert to active.
This starts the same signup flow described above, beginning at the software information step.
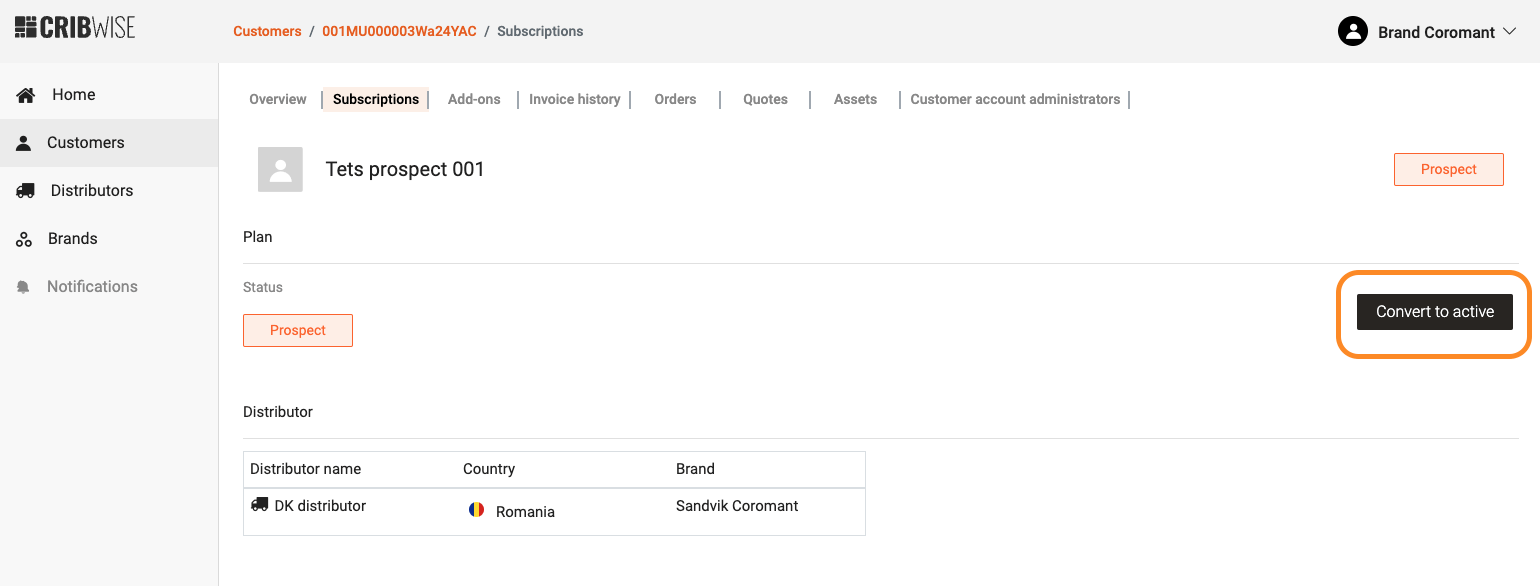
Convert to active is on the Subscription tab of the customer overview.
Next steps
- Confirm the terms and conditions were accepted — the portal is not activated until the first account administrator signs off. See How to activate a new portal and create your first user.
- Add more account administrators — see How to manage customer account administrators (distributors).
- Adjust the subscription as the customer grows — see How to change a customer account (distributors).
Troubleshooting
| Problem | Likely cause | Fix |
|---|---|---|
| The Short name field turns red | The name is already in use — it has to be unique because it becomes part of the portal address | Try another short name until the field is accepted |
| The plan or add-on you need is missing from the drop-down | The list is filtered by your distributor settings, which follow the distributor agreement | Contact the CRIBWISE team — distributor settings are configured in CMP |
| The customer cannot create the devices they expect in the Admin Portal | Devices are the license object, and the portal allows no more than the quantity ordered | Increase the subscription quantity — see How to change a customer account (distributors) |
| The subscription shows Future instead of Active | The order included hardware or an installation add-on, so billing starts on the installation or shipping date | Nothing to fix. The Admin Portal already works. The future date cannot be changed from app.cribwise.com |
| The customer’s portal is not activated | The first account administrator has not accepted the terms and conditions e-mail | Follow up with the customer. See How to activate a new portal and create your first user |
| The account was created on the wrong distributor | Select distributor was skipped or set incorrectly when you are assigned to several | Contact the CRIBWISE team — country and billing follow the distributor on the account |
Related articles
- How to change a customer account (distributors) — change subscription quantity, manage add-ons, and read invoice history.
- How to manage customer account administrators (distributors) — add and manage the customer’s administrators.
- How to request a quote from a supplier (distributors) — create the quote you can later import into a signup.
- How to place a purchase order in CMP (distributors) — order hardware outside the signup flow.
- Understanding the hardware supplier flow (distributors) — what happens to a hardware order after you confirm it.
- How to activate a new portal and create your first user — what the customer does after signup.
- How to manage users in the Customer Management Portal (CMP) — CMP roles and permissions.