
What you’ll learn
How the ready-to-use integration synchronises purchase orders from CRIBWISE to MONITOR ERP G5: what is transferred, what MONITOR and CRIBWISE must have in place, every configuration setting, and where the integration stops.
With it in place you can see purchased quantities and values in MONITOR, follow delivery status there, and match supplier invoices against the order.
The integration at a glance
| Direction | One-way. CRIBWISE is the master – changes made in MONITOR are not sent back. |
| Activated as | A CRIBWISE subscription add-on, available to all customers on MONITOR ERP G5. |
| What is created | Free text orders (row type 2) – no connection to parts in the MONITOR inventory. |
| When it runs | Immediately when an order is created or updated in CRIBWISE. Orders must be at least Active, so the order appears in MONITOR when it is sent to the vendor. |
| Scope | All vendors by default. A vendor list can limit it during a slow start. |
| Key match | CRIBWISE VendorId = MONITOR Supplier code, case-sensitive. |
Prerequisites
- MONITOR ERP G5 with the API module activated. Only G5 is supported.
- An active Full Access API licence and a user API licence from MONITOR. Contact MONITOR to purchase them.
- The API must be reachable from the CRIBWISE cloud – incoming HTTPS calls from the CRIBWISE cloud IP address must be accepted. This may require firewall changes on the customer side.
- A default coding (account) configured for free order rows in MONITOR settings. Without it, purchase orders cannot be created through the API.
- A dedicated API user in MONITOR is recommended.
API user access rights
The API user needs all of the following rights:
- Show supplier
- Show purchase orders
- Show order types
- Show company information
- Show part
- Show chart of accounts
- Show dimensions/dimension codes
- Show currencies
- Create new purchase order
- Modify purchase order
- Report arrival of purchase order
Vendors must match
Every CRIBWISE vendor used for purchase orders must exist as a supplier in MONITOR. The match is CRIBWISE VendorId to MONITOR Supplier code.
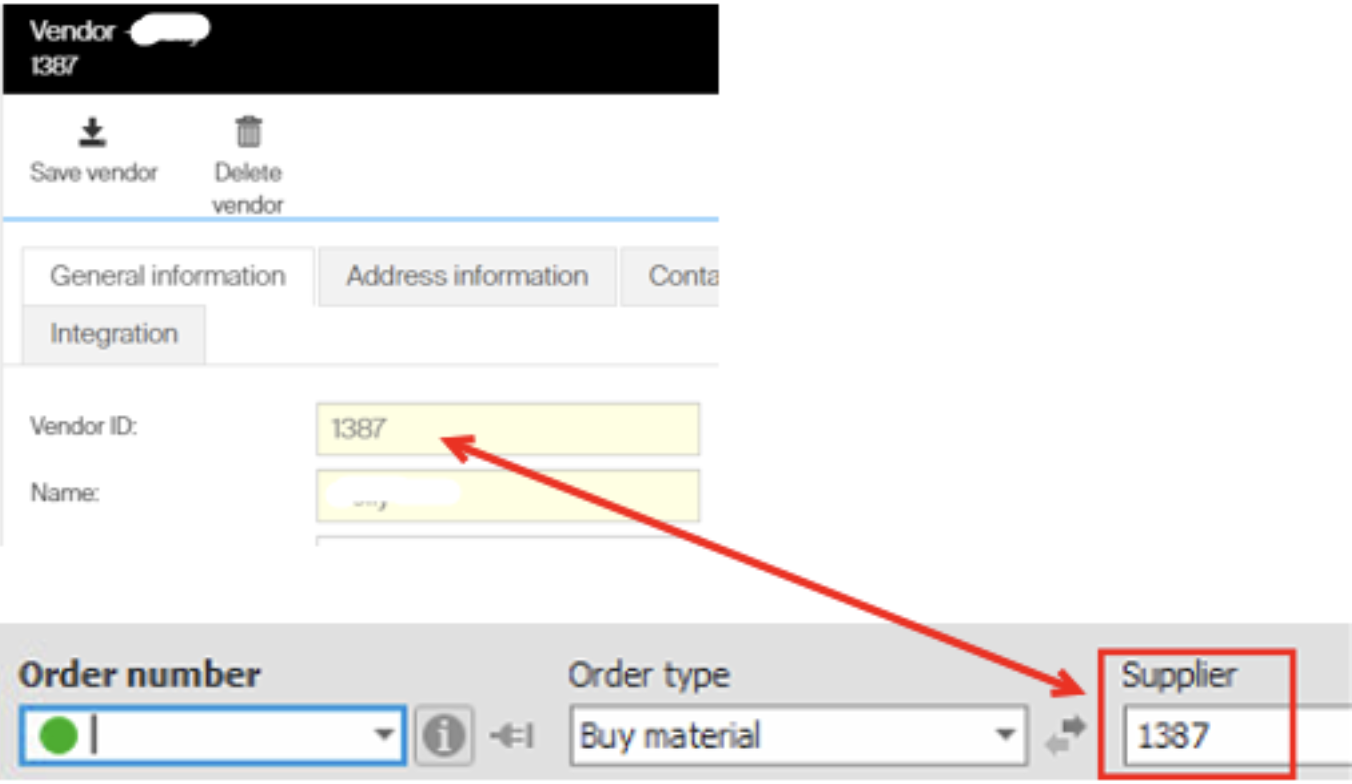
The vendor identity is what links an order to a supplier in MONITOR.
Important: The match is case-sensitive – “Cy34” does not match “CY34”. Align the identities before activating the integration.
The integration verification checks that every CRIBWISE vendor exists as a MONITOR supplier and lists the ones it cannot find. Use that list to decide whether to change the vendor ID in CRIBWISE or add the supplier in MONITOR.
Currency settings
The system currency in CRIBWISE must match the default purchase currency in MONITOR ERP. If several purchase currencies are used in CRIBWISE, each one must also exist in MONITOR. Currencies are matched by ISO currency code.
How data is mapped
Purchase order information is mapped from CRIBWISE to MONITOR ERP as follows.
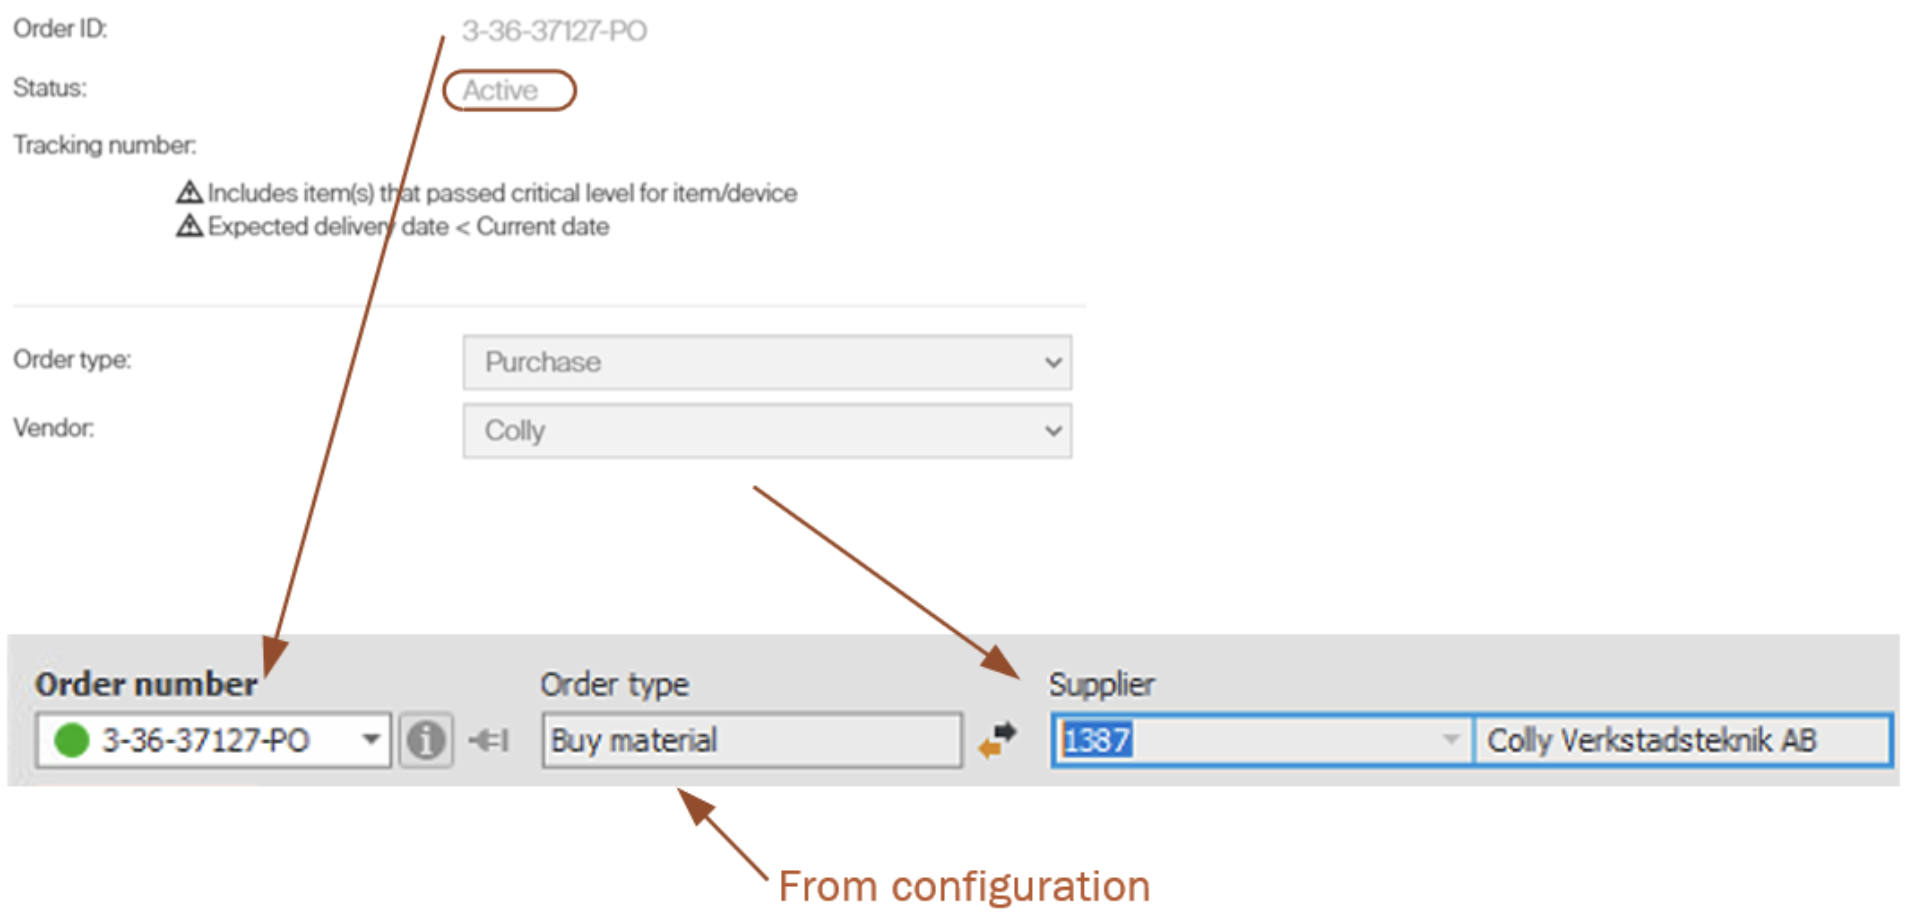
Order-level field mapping between CRIBWISE and MONITOR ERP.
If the order acknowledgment contains a tracking number from the vendor, that number is mapped to Supplier’s order no in MONITOR.

The vendor tracking number becomes Supplier’s order no.
Order item information is mapped to the MONITOR order row.

Row-level field mapping.
The CRIBWISE purchase order number is used as the order number in MONITOR.
Important: MONITOR order numbers must be no longer than 15 characters. A longer CRIBWISE order number fails to synchronise, the order is not created in MONITOR, and the error appears in the integration execution log.
Adding the item description as a sub row on the MONITOR purchase order row is optional, controlled by the setting CRIBWISE – Set Item Description as MONITOR PO Row Sub Content.
If the CRIBWISE order item has an expected date, that date is set as the delivery date on the MONITOR order row.
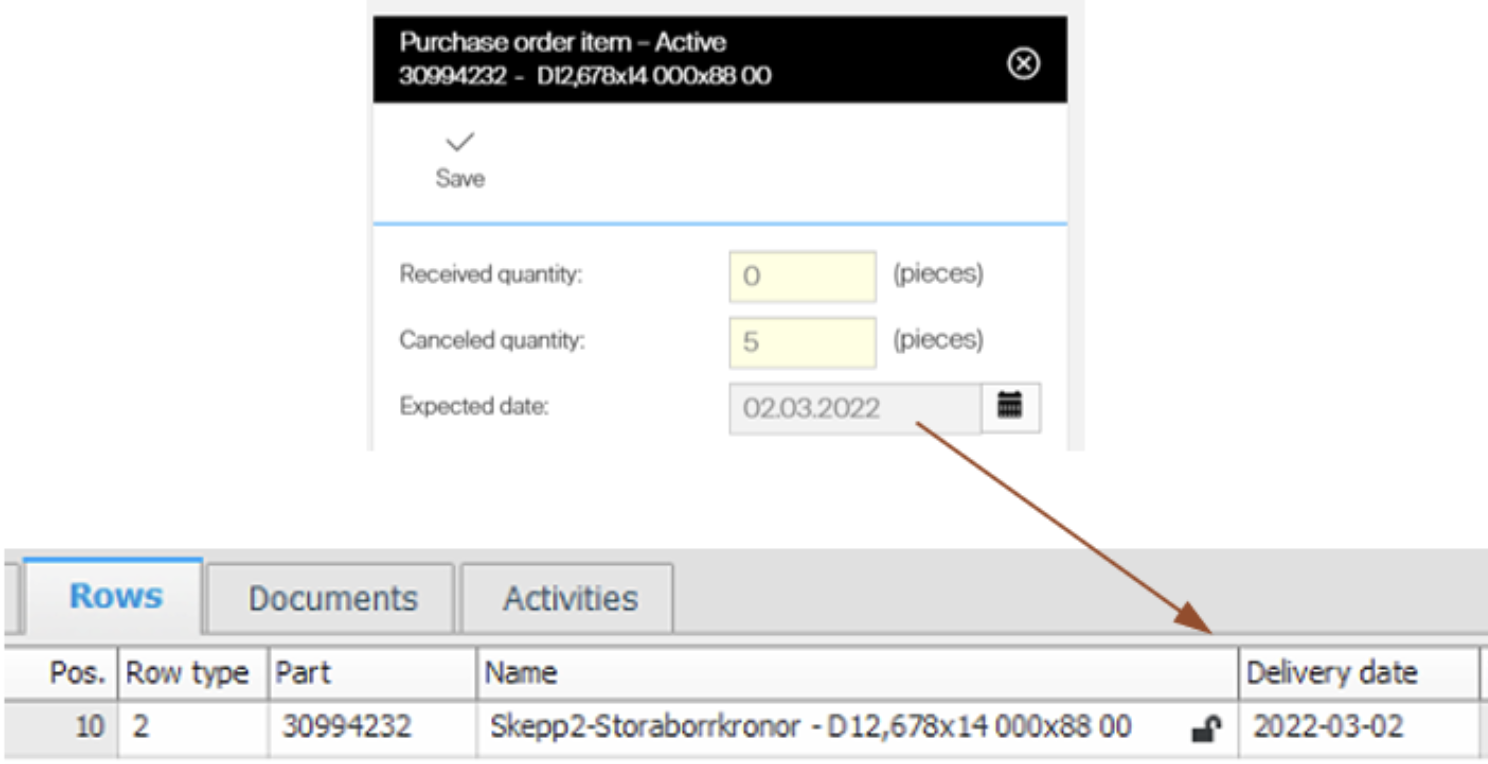
Expected date in CRIBWISE becomes delivery date in MONITOR.
Delivery date is mandatory in MONITOR. If CRIBWISE does not supply one, MONITOR sets the order date as delivery date when it creates the row.
Device
A device is specified either on the order or on each individual order item. When it is specified on order level, the device name is set as the Goods label in MONITOR – see Goods label below.
When the device is specified on item level, one order can contain several devices, and the same item (order code and description) can be ordered for different devices on the same order. The device name is then added as sub row text on the order row so you can see what each row is for.
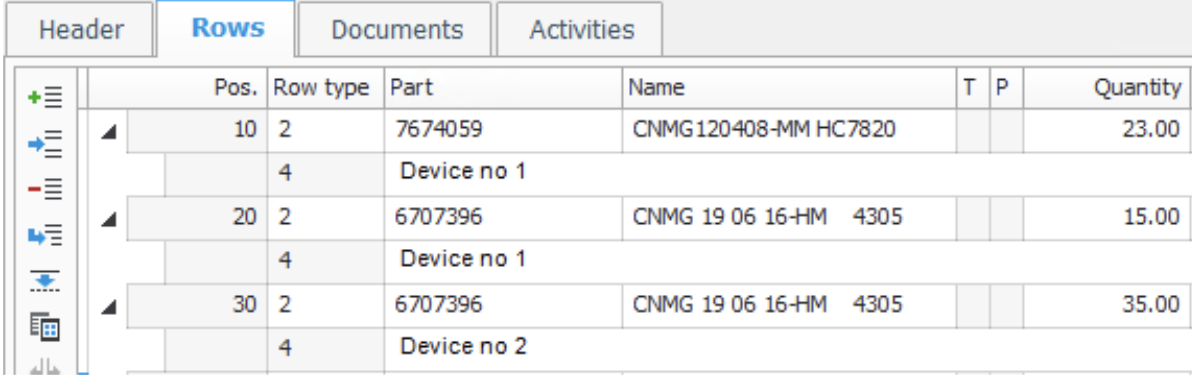
The device name identifies what each row was ordered for.
Report arrivals
When an order item in CRIBWISE is updated with a received quantity, the integration creates an arrival report in MONITOR to update the received quantity on the purchase order rows.
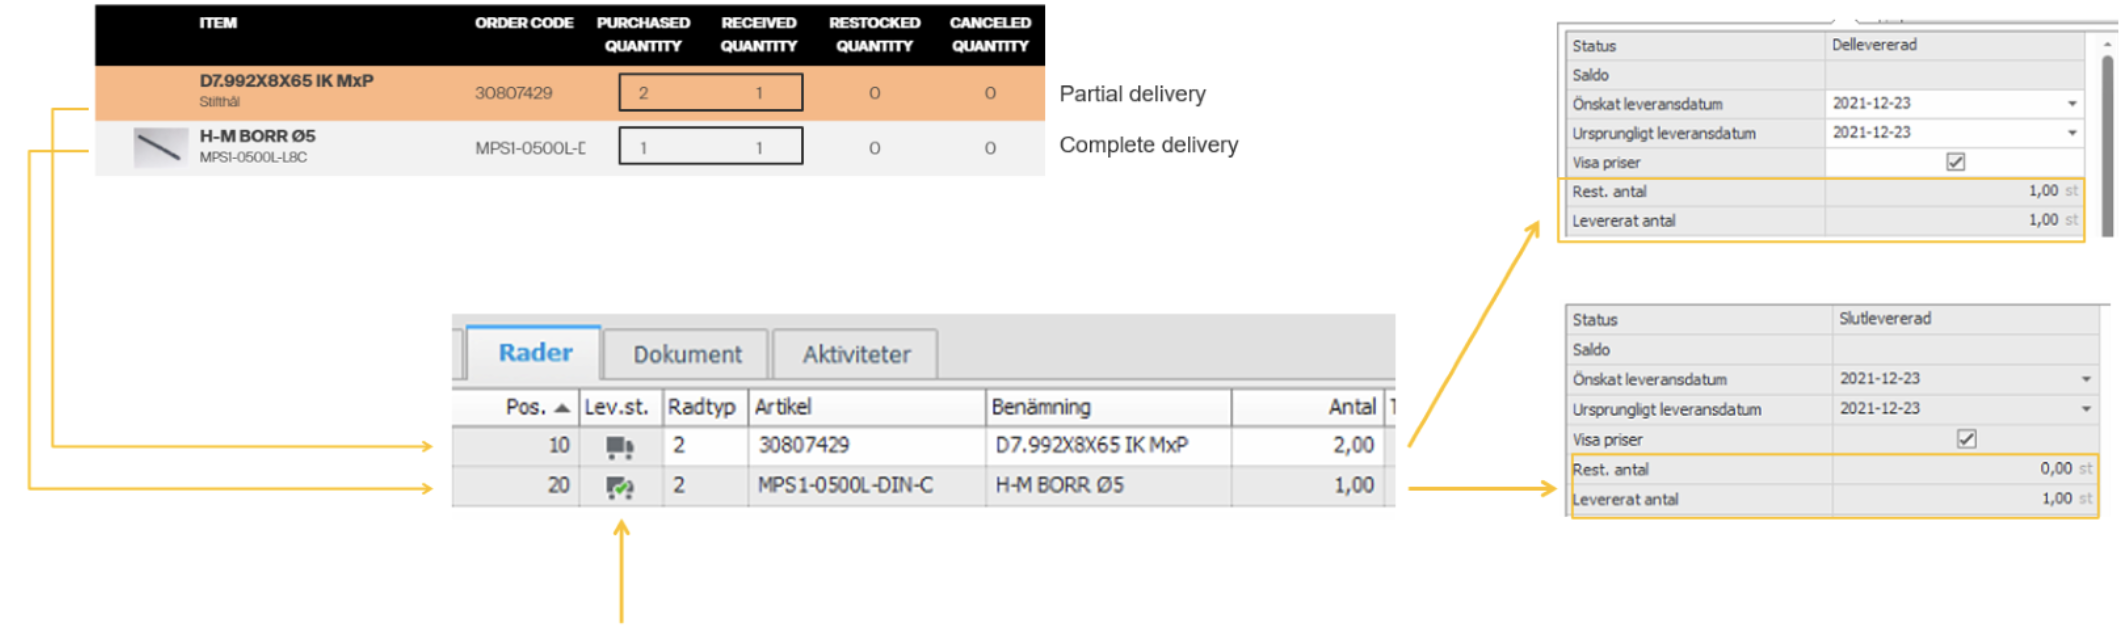
Received quantities in CRIBWISE are reported as arrivals in MONITOR.
When all ordered quantities on a row are received, the row status changes to Completely delivered. A partial delivery sets it to Partially delivered. When every row is completely delivered, the order status changes to Completely delivered and can no longer be changed.
Goods label
A goods label in MONITOR can consist of up to two rows.
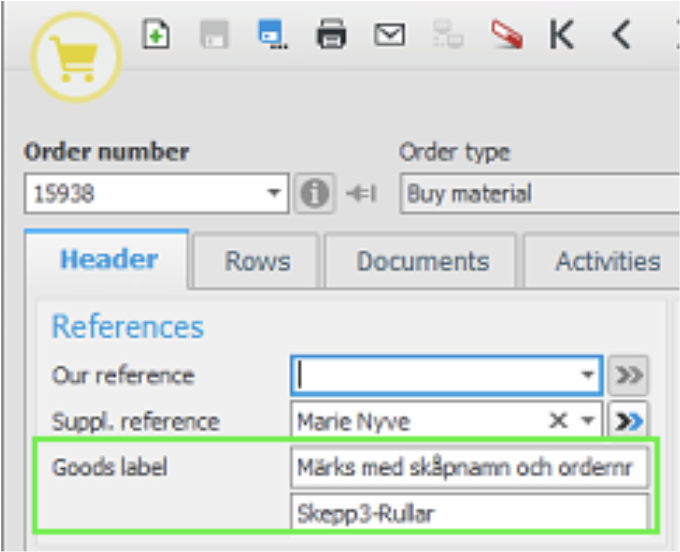
A goods label with both rows in use.
Orders synchronised from CRIBWISE build the goods label from these rules:
- If the vendor connected to the order has a shipping note, that text becomes the first row.
- If the order is created for a unique device, the device name is added as the second row.
- If the vendor has no shipping note, the device name is used as the first row instead.
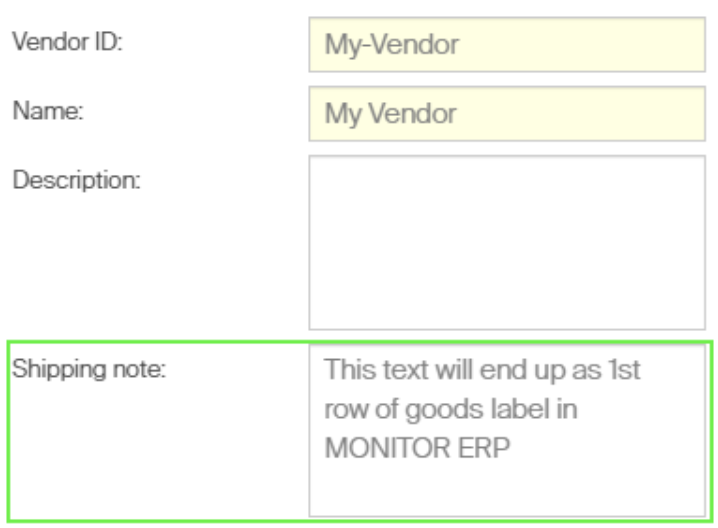
The vendor shipping note fills the first row.
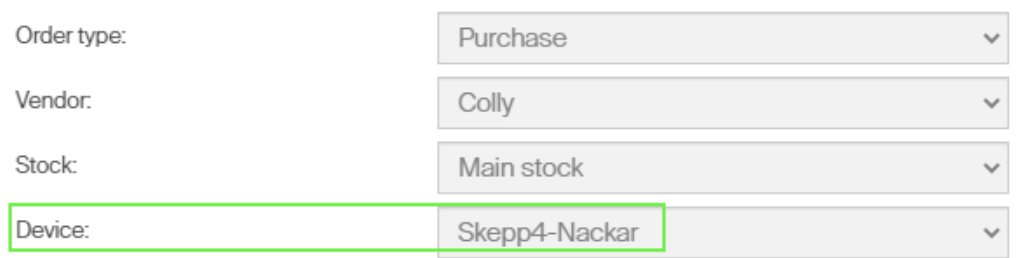
The device name fills the second row.
Configuration settings
The integration is configured in the CRIBWISE Administration Portal under Administration → Integration. The menu option appears once the add-on is activated for the customer.
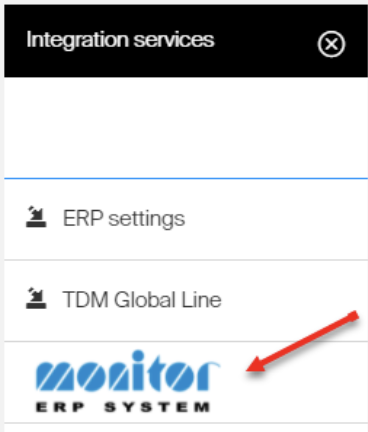
The Integration menu option, visible when the add-on is active.
Selecting the menu item opens a blade for configuration, verification and the execution log.
General settings
| Name | Mandatory | Description |
| MONITOR G5 API – Base url address | Yes | Base address of the MONITOR server. See api.monitor.se. |
| MONITOR G5 API – Language Code | Yes | Language the API scopes the request to, used by all language-dependent processing. Case-insensitive, and must be a valid two-letter ISO‑639‑1 code. |
| MONITOR G5 API – Company Number | Yes | Database number and company id, written <database-number>.<company-id> – for example 001.1. The company id is currently always 1. |
| MONITOR G5 API – Username | Yes | Username used to connect to the MONITOR API. See MONITOR API authentication. |
| MONITOR G5 API – Password | Yes | Password used to connect to the MONITOR API. |
Workflow-level settings
| Name | Mandatory | Description |
| MONITOR G5 – Purchaseordertype Number | Yes | The order type set on the purchase orders. This human-readable number is found in MONITOR ERP settings. A separate order type can be used for CRIBWISE orders. |
| MONITOR G5 – Warehouse Code | No | The warehouse code, when MONITOR uses several warehouses and CRIBWISE orders must go to a specific one. |
| MONITOR G5 – Supplier Code for Verification | No | An existing supplier code used when verifying the settings. If set, verification runs the PO create command with the /Validate option, checking the input data without creating an order. |
| CRIBWISE – Exclude orders created before | No | Excludes purchase orders created before the given date, matched on the order date. Use it to keep old orders out of the synchronisation. |
| CRIBWISE – Suppliers to Synchronize | No | A comma-separated list of CRIBWISE vendor IDs to include – for example 1001,1023,1131. Empty means all vendors. Verification checks that every ID exists in both systems. |
| CRIBWISE – Set Item Description as MONITOR PO Row Sub Content | No | When checked, the item description is set as sub row content on the MONITOR order row. Applies to all synchronised orders. |
Tip: Start with a few vendors in CRIBWISE – Suppliers to Synchronize, verify the result in MONITOR, then open the integration up to all vendors.
Limitations
- MONITOR has no equivalent of the CRIBWISE order status, so Active, Closed and Cancelled orders cannot be told apart in MONITOR.
- When all rows are fully received, the MONITOR order moves to status 9 – History (Completely delivered) and can no longer be updated.
- Order rows cannot be deleted in MONITOR through the API. A row deleted in CRIBWISE is set to quantity 0 instead, and cancelling a whole order sets every row to 0.
- The purchase account number cannot be set from CRIBWISE. It is a default setting in MONITOR, as is the cost centre.
- Purchase order numbers longer than 15 characters are not synchronised, and the error is shown in the execution log.
- All purchase orders are synchronised regardless of vendor, stock or device unless a vendor list is configured, so every vendor ID must match a MONITOR supplier.
Common confusion
| People often think… | But actually… |
| Changing an order in MONITOR updates CRIBWISE. | The synchronisation is one-way. CRIBWISE is the master for these orders. |
| Orders reach MONITOR as soon as they are created. | An order must be at least Active, so it appears when it is sent to the vendor. |
| Vendor IDs only need to look the same. | The match is case-sensitive and exact. |
| Orders are linked to parts in MONITOR inventory. | They are created as free text orders (row type 2), with no part connection. |
| A cancelled CRIBWISE order disappears from MONITOR. | The rows are set to quantity 0. Rows cannot be deleted through the API. |
Take action
Once the prerequisites are in place:
- Enter the settings under Administration → Integration in the Admin Portal.
- Click Save and test configuration to save the settings and run the verification.
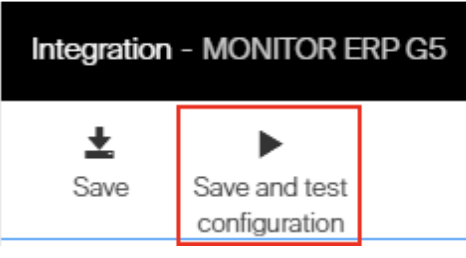
Saving the configuration also runs the verification.
The verification status and details are shown on a new blade to the right.
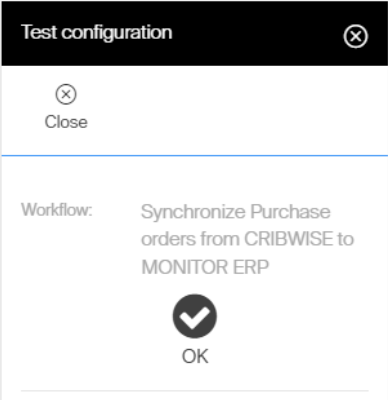
The verification response, including any vendors missing in MONITOR.
If everything looks correct, activate the integration. Purchase orders created or updated after activation are synchronised.

Activation starts the synchronisation.
Status of the synchronisation
Synchronisation errors are shown in the execution log (event log). If the log contains errors or warnings from the last 24 hours, an indicator icon is displayed at workflow level.
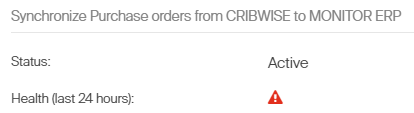
The indicator appears when the log holds errors or warnings from the last 24 hours.
Every successful synchronisation is also written to the event log as an information entry.
Related articles
- How to manage vendors – where the vendor ID and shipping note that this integration relies on are maintained.
- How to configure currencies for purchasing – the system and vendor currencies that must exist in MONITOR too.
- How to create and manage devices – devices become goods labels and order row sub rows in MONITOR.
- System settings – system-wide settings, including the system currency.