
What you can do
Change the quantities, locations and order settings of an item that is already assigned to a device — without leaving the Shop Floor Interface. Everything is done from one screen: the item’s location list.
Where to do this
| You want to | Use | Guide |
|---|---|---|
| Change quantities, move an item, or remove an assignment | Shop Floor Interface | This article |
| Assign an item to a location for the first time | Shop Floor Interface | How to assign an item to a location (Shop Floor Interface) |
| Set up assignments centrally, for many items or for a device you are not standing at | Admin Portal | Go to Data management > Items, select the item, click View detail and open the Stock locations tab. To assign many items to one device at once, select them in the item list and click Mass assign. |
Before you start
- Sign in to the Shop Floor Interface on the device that holds the item. Manage items only ever shows the items assigned to the device you are standing at.
- You need a user group that allows stock management. An operator group with only Pick and Return does not show the Stock management tile at all.
- The item must already be assigned to the device. To add a brand-new item, use Assign item instead.
- Know which location you mean. A location is identified by its name on the device, for example B-01-01-02.
Note: Some of these actions move real stock and create transactions. Check What each action does to your stock figures before you move or remove anything.
Quick start
Experienced users — edit an assignment in 4 steps:
- Tap Stock management, then Manage items.
- Tap the pencil on the item’s row.
- Tap the action you need — Purchase information, the location pencil, Move, Remove, Assign item to location or Place or withdraw quantity.
- Change the values and tap Save.
Need more detail? Follow the full steps below.
Steps
Step 1 — Open the Manage items list
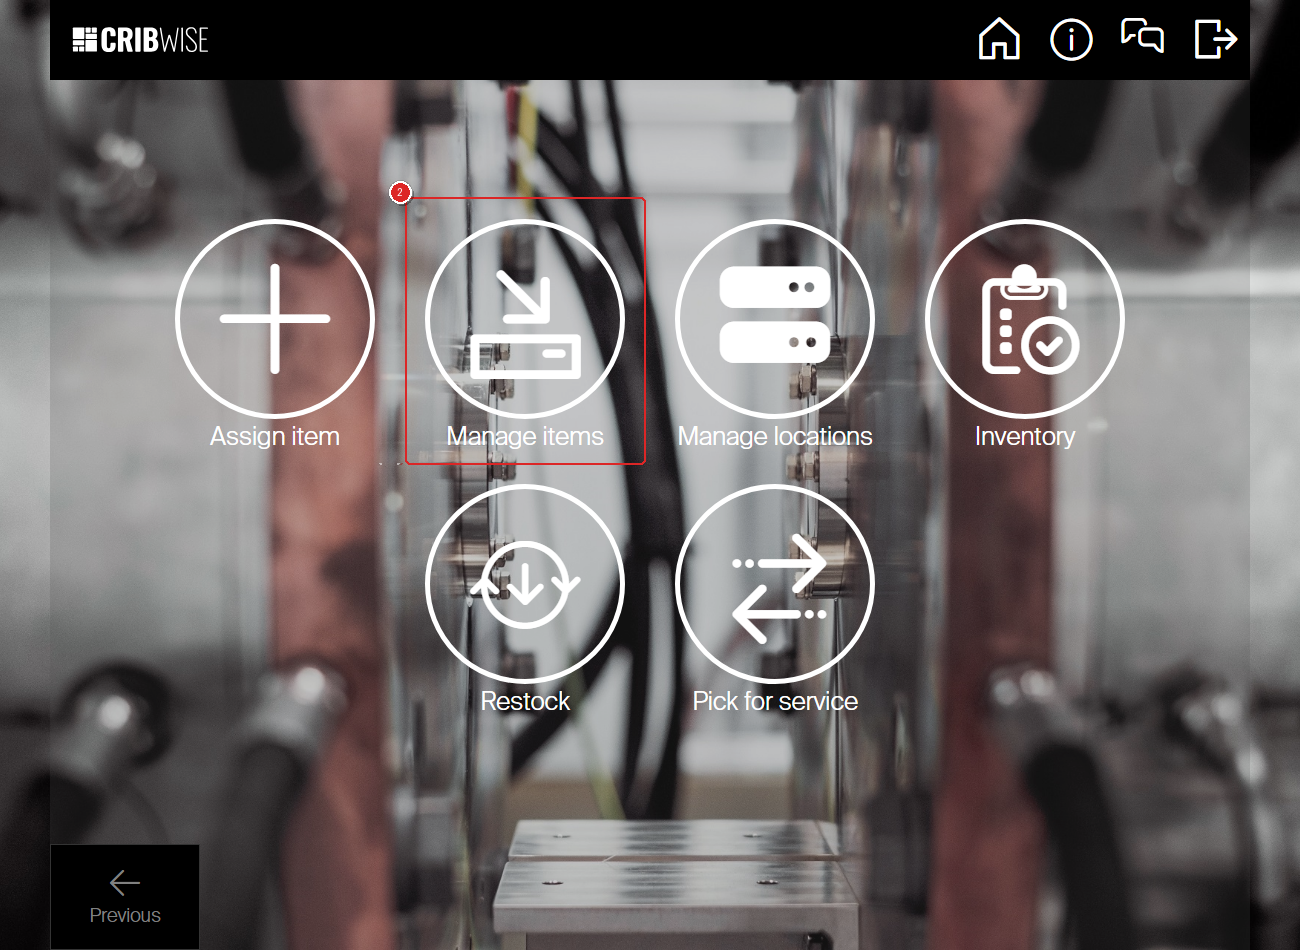
- On the Shop Floor Interface main menu, tap Stock management.
- Tap Manage items.
Assigned items on your device opens and lists every item assigned to it.

Step 2 — Find the item you want to change
- Scroll to the item, type its number in the search box, or tap the barcode icon and scan it.
Each row shows the item and its current assignment values.
| Field | What it shows |
|---|---|
| Item number | The item’s catalog number, for example 5724444. |
| Description | The item name, for example “T-Max® P, insert for turning”. |
| Max Qty | The target stock level for the item at this device. Ordering tops the device back up to this number. |
| Order point | The level that triggers an automatic order. |
| Min Qty | The safety stock kept at this device. Durable items only — it stays empty for consumables. |
| Locations | How many stock locations on this device hold the item. |

Step 3 — Open the assignment
- Tap the pencil at the right of the item’s row.
Locations of the item opens. It lists every location on this device that holds the item, with its Qty real, its Physical max quantity and its stock location rule. All seven assignment actions are on this screen.

| Action | Where | What it changes | |
|---|---|---|---|
| 1 | Edit assignment (pencil) | Location row | The physical max quantity of that one location. |
| 2 | Move assignment (arrow) | Location row | Moves the item to a different location. Any pieces move with it. |
| 3 | Remove assignment (bin) | Location row | Removes the item from that one location. |
| 4 | Purchase information | Bottom toolbar | Max quantity and order point for the item on this device — and min quantity for durable items. |
| 5 | Assign item to location | Bottom toolbar | Adds another location on this device for the same item. |
| 6 | Remove from device | Bottom toolbar | Removes the item from the device entirely. It is no longer ordered for this device. |
| 7 | Place or withdraw quantity | Bottom toolbar | Corrects the number of pieces in a location without running an inventory. |
Step 4 — Change the order values for the device
- Tap Purchase information.
- Set Max quantity with the − and + buttons, or tap the number and type a new one.
- Set Order point the same way.
These two values drive automatic ordering: an order is triggered when stock falls to the order point, and it tops the device back up to the max quantity. They apply to the item on this device, not to a single location.

Important: The header of every quantity screen states the item’s package size — “Quantities must match package size of 1”. Enter quantities as whole multiples of that number.
Step 5 — Change what a single location holds
- On the location row, tap the pencil.
- Set Physical max quantity — how many pieces fit in that drawer, bin or shelf.
- If the location has no meaningful limit, tick Unlimited physical quantity instead.

Step 6 — Save
- Tap Save.
Success: You are returned to the item’s location list, and the new figures show on the location row and in the Manage items list. Automatic ordering uses the new order point and max quantity from this point on.
Other actions on an assignment
Move the item to another location
- On the location row, tap the arrow.
- Pick the new location from the list. Turn on Show empty locations to include locations that hold nothing yet, or tap Create new location if the one you want does not exist.
- Tap Select.
If pieces are still in the old location, they move too and CRIBWISE guides you through taking them out and putting them back.

Remove the item from a location or from the device
- To free up one location, tap the bin on that location row.
- To take the item off the device altogether, tap Remove from device. The item is no longer ordered for this device.
If pieces are still there, CRIBWISE walks you through removing them first.
Warning: You cannot remove an item from a device while an order for it is still open. Complete or cancel the order first.
Correct the quantity in a location
Use this when the number on screen does not match what is physically in the location, and you do not want to run a full inventory.
- Tap Place or withdraw quantity.
- Tick the locations you want to correct, or tap Select all. Tap Filter locations to narrow the list down to one storage device or module.
- Tap Proceed.
- Tick the row to mark it as adjusted, then set New quantity against the Original quantity shown next to it.
- Tap Confirm.


Tip: On a controlled storage device, adjust the quantity once the location is open or accessible, then close it or confirm the change. For a serialized item, take all units out of the location first, adjust the quantity, select the serial numbers, and put the units back.
What each action does to your stock figures
| Action | Transactions created |
|---|---|
| Purchase information, Edit assignment | None. These change target values, not the stock itself. |
| Move assignment | A Withdraw for the old location and a Placement for the new one, for every piece moved. |
| Remove assignment, Remove from device | A Withdraw for every piece removed from a location. |
| Place or withdraw quantity | A Placement for each piece added and a Withdraw for each piece taken out — not Inventory transactions. The location’s Date of last inventory is left unchanged. |
If you confirm an adjustment without changing the quantity, no transaction is created.
Next steps
- Restock the item — bring the location up to its new max quantity. See How to restock items on the Shop Floor Interface.
- Run an inventory — confirm the physical count matches the system after a move. See How to do an inventory on the Shop Floor Interface.
Troubleshooting
| Problem | Likely cause | Fix |
|---|---|---|
| Stock management or Manage items is missing from the menu | Your user group does not allow it — operator groups see only Pick and Return | Ask your administrator to change your user group in the Admin Portal, under Administration > User groups |
| The item list is empty | No items are assigned to this device | Tap Assign item and add one. See How to assign an item to a location |
| The item you expect is not in the list | The list only holds items assigned to the device you are standing at | Check you are at the right device, or assign the item from the Admin Portal under Data management > Items > Stock locations |
| The quantity is not accepted | The value is not a whole multiple of the item’s package size | Use the package size named at the top of the screen, for example “Quantities must match package size of 5” |
| You cannot remove the item from the device | An order for the item is still open | Complete or cancel the order, then remove the item |
| Removing a location is blocked | Pieces are still physically in the location | Let CRIBWISE walk you through removing the pieces, or pick them first |
| Proceed or Select stays greyed out | Nothing is selected yet | Tick at least one location row first — the button turns black once a row is selected |
Related articles
- How to assign an item to a location (Shop Floor Interface) — assign an item to a device and location for the first time.
- How to manage stock locations (Shop Floor Interface) — create, rename and organise the locations you are assigning items to.
- How to restock items on the Shop Floor Interface — add stock to assigned locations.
- How to do an inventory on the Shop Floor Interface — count and reconcile physical stock.
- How to disable and re-enable a stock location — take a damaged location out of use, and what happens to the assignments on it.
- Understanding stock structure: stocks, devices, and locations — how stocks, devices and locations relate.